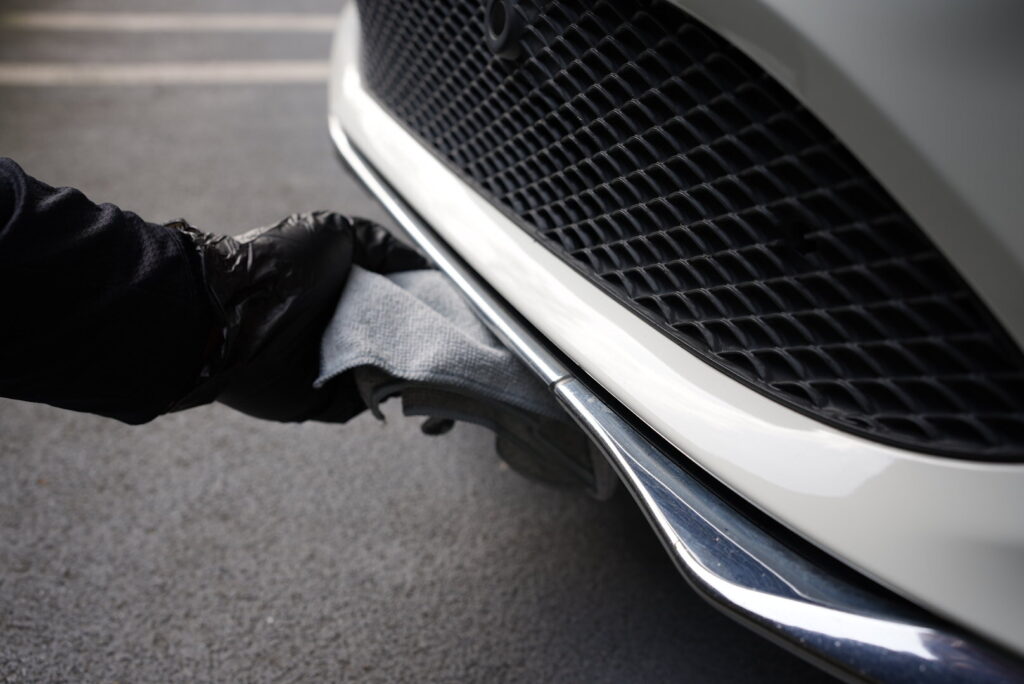
Start by cleaning the bumper surface where you’ll be installing Hexskid strips. Use a cleaning solution to remove any dirt, debris, or wax from the bumper. This ensures a better surface for better adhesion.
02
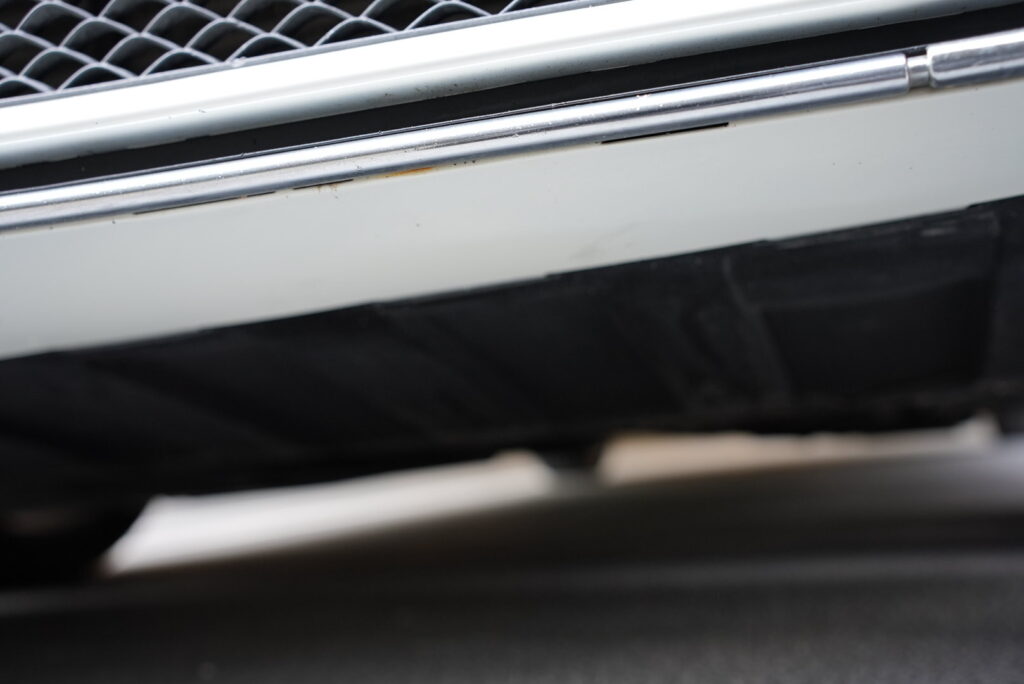
Measure
Take out the Hexskid strips from kit and determine the required length for your specific bumper. If the bumper is shorter than the length of the Hexskid strips, cut strips with scissors. Ensure you have desired length of strips to cover area of bumper that needs protection
03
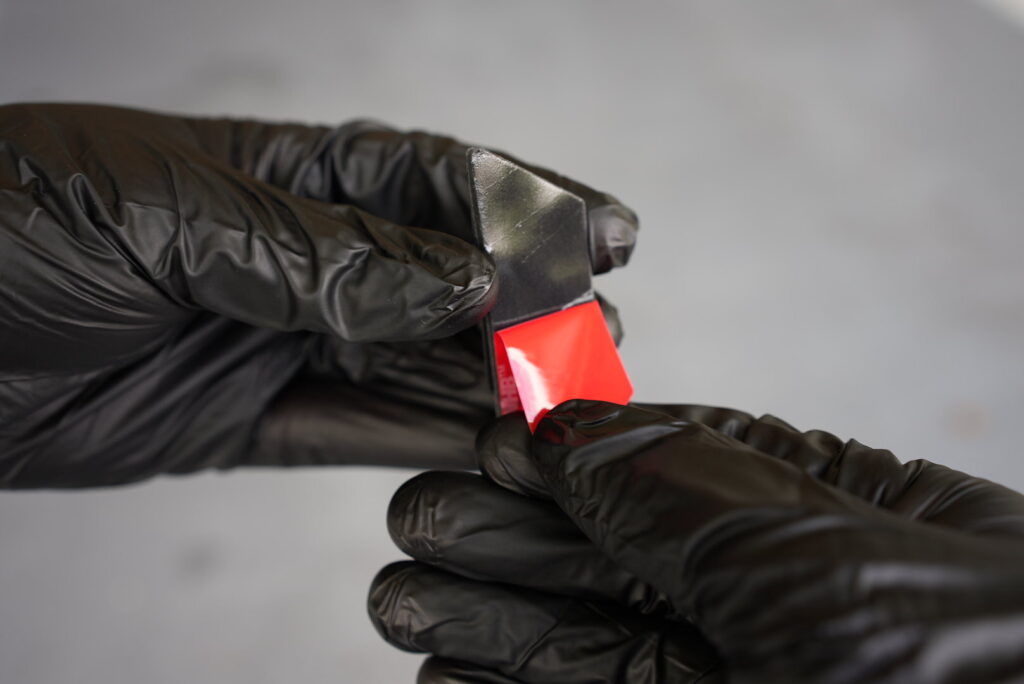
Apply adhesive side of Hexskid
Peel protective backing from adhesive off the Hexskid strip.
04
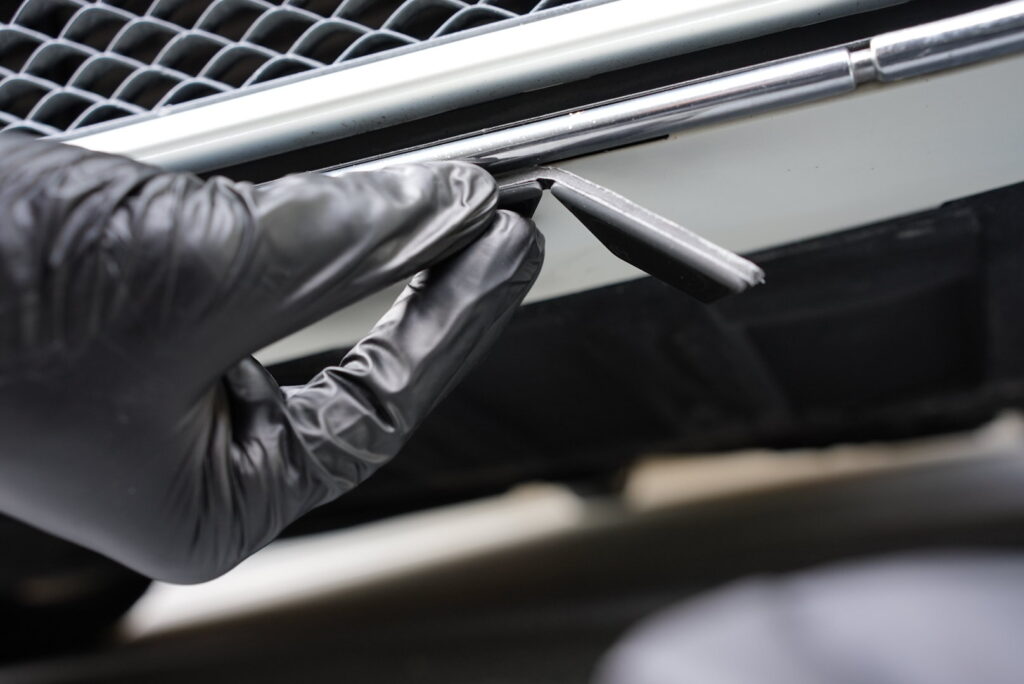
Position Hexskid to bumper
Carefully position the Hexskid strips to the desired section of the bumper that needs protection. Make sure it aligns properly and covers low and vulnerable areas. Once in position, firmly press onto clean bumper surface. Apply even pressure to ensure proper adhesion (DO NOT APPLY TO DRIVETRAIN OR EXHAUST).
05
Repeat the Process Until All Desired Areas Are Covered
Continuously apply Hexskid strips to safeguard every vulnerable section. Ensure comprehensive protection by repeating the previous steps as needed
06
Allow the Adhesive to Cure
Let the adhesive set and cure for the recommended duration. This critical step ensures a strong and durable bond between Hexskid and your bumper, guaranteeing long-lasting protection.